How do I sign up for ShipStation?
Here is a walkthrough for registering with ShipStation so you can ship orders across the US with great discounts(near 50% off) with UPS and USPS. Plus you can link other shippers you might use like DHL, FedEx or OnTrac.
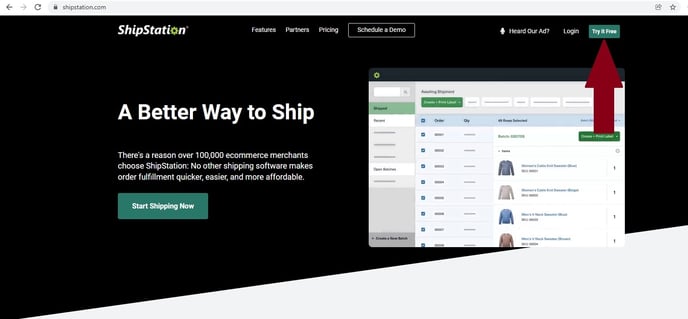
- From the link above select "Try it free".
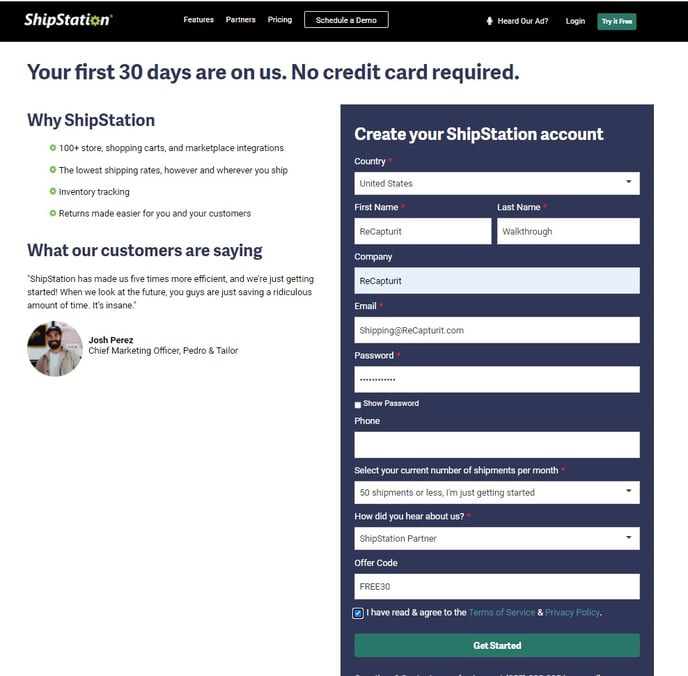
- Fill out the requested information on the right side and click "Get Started"
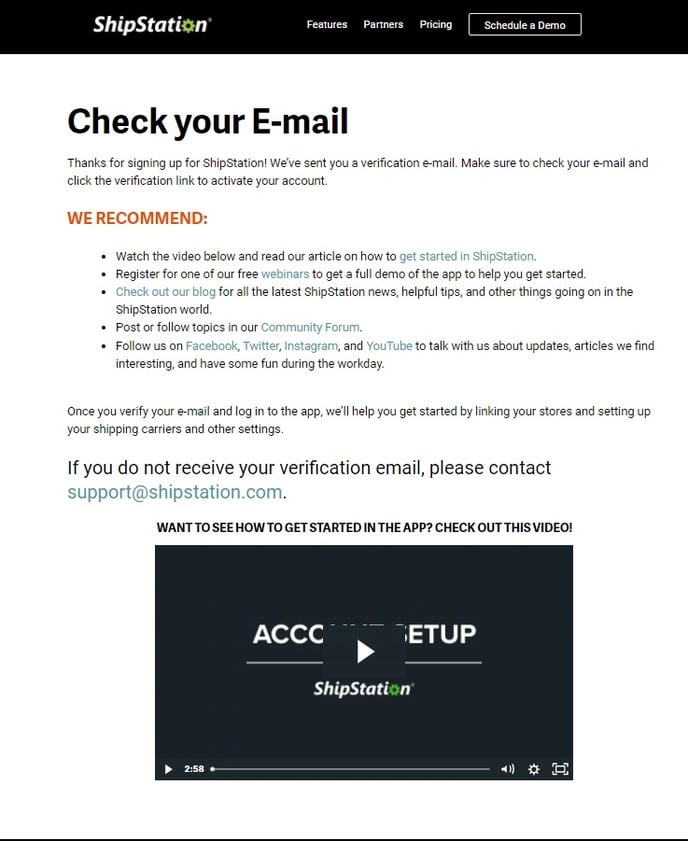
- An email will be sent to the address you listed in the last step for verification.
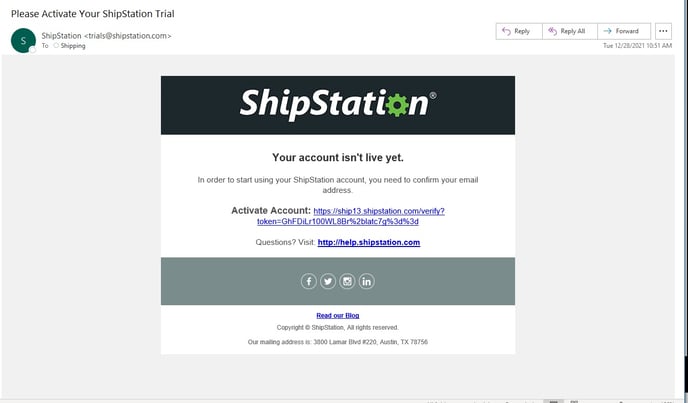
- Click on the link to activate your account.
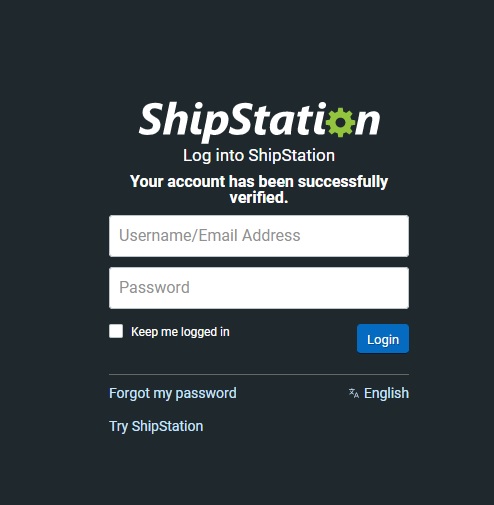
- Enter your Email Address and Password.
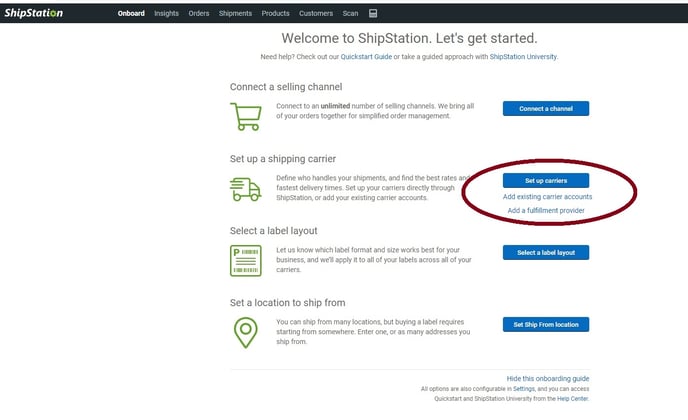
ShipStation Tip: Connecting a selling channel is not used with ReCapturit's API integration.
- Click on "Set up carriers"
- Select "Continue Setup" if you do not wish to use an existing Stamps.com account.
ShipStation Tip: To get the discounts that ShipStation offers, including a free Stamps.com account, discounted USPS and UPS rates , do not use your existing account if you have one.
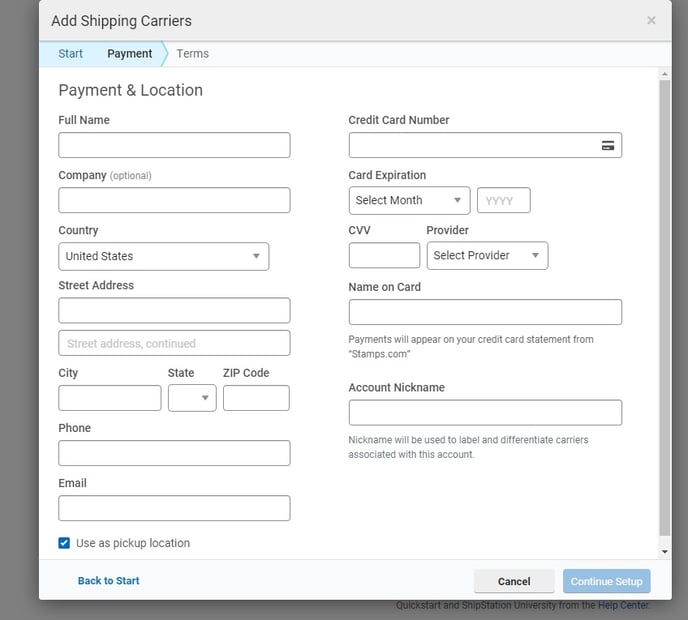
- Fill in all of the required fields on the Payment and Location page.
- The credit card information will be used only to put funds into your Stamps.com wallet to pay for shipping items thru UPS or USPS. (You will be charged a one time fee of $1.00 for verification from the USPS on setup)
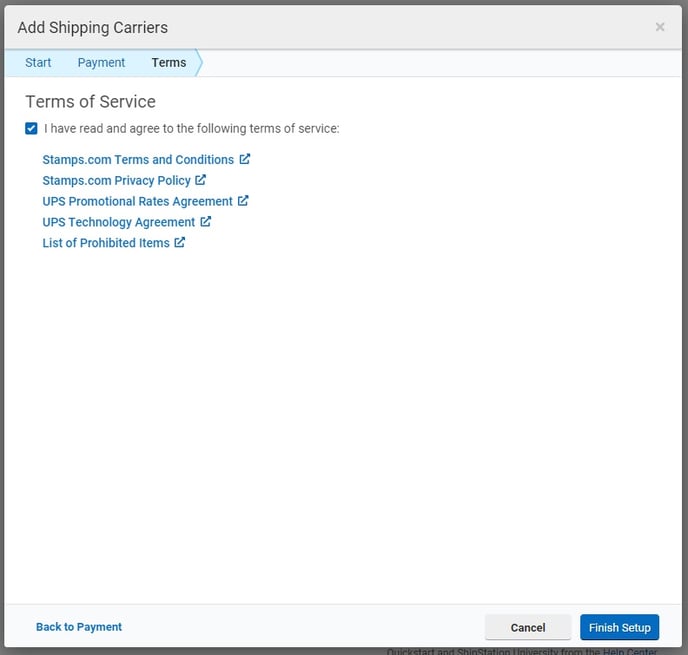
- Accept their Terms and Conditions and click "Finish Setup"
Follow up information: You will want to customize Service and Packaging types for UPS and USPS. Instruction are in each of the listed Knowledgebase articles below.
- Pick "Select a label layout".
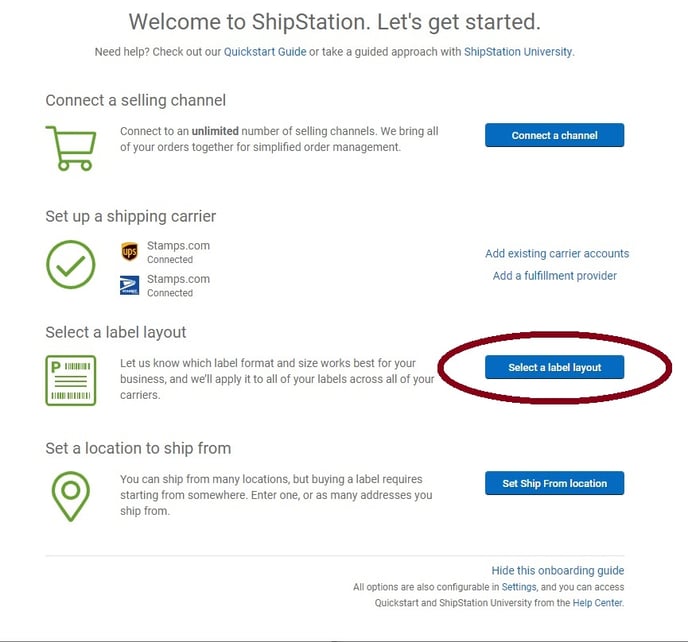
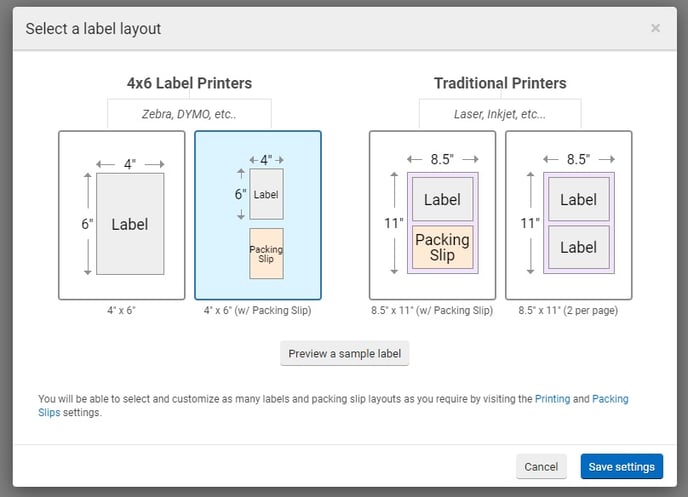
- Pick the label layout you wish to use.
- If you already have a 4x6 label printer use the options to the left
- Regular printers options on the right
- Click "Save settings" to lock it in.
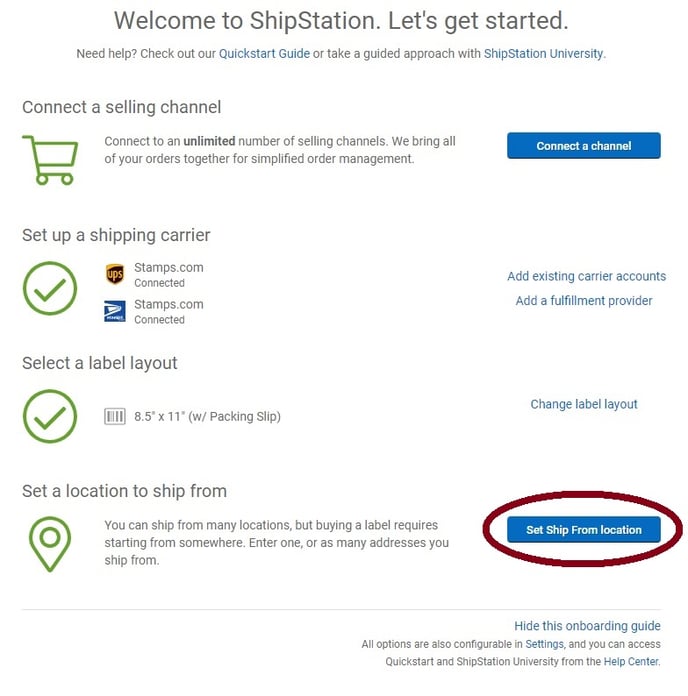
- In "Set Ship From Locations" you will set up the where.
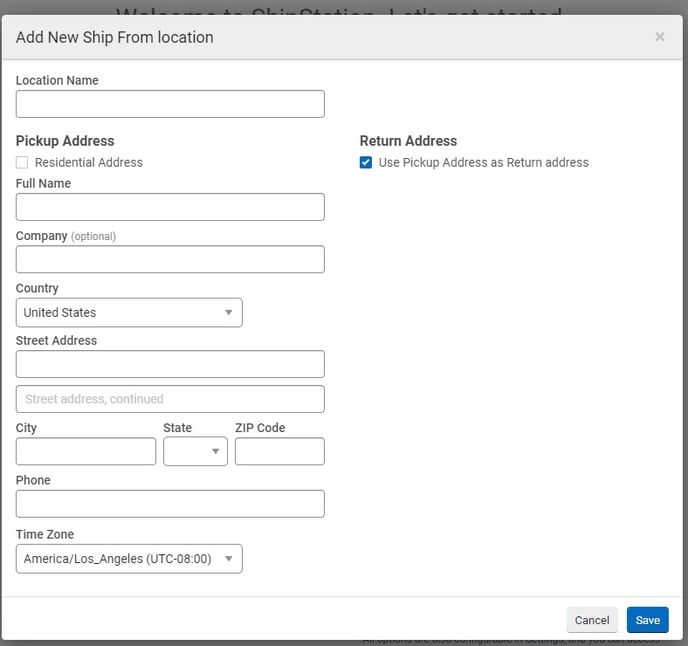
- Fill out the New Ship From Location form for your shop. (You can load more than one address if you will be shipping from more than one location.)
- Once you hit save you will be all set up.
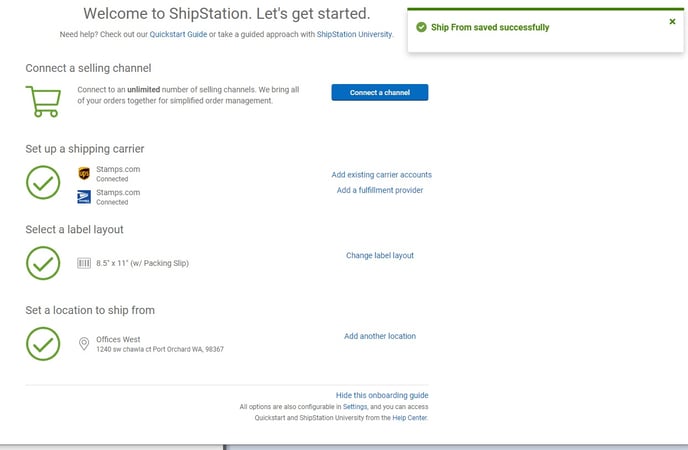
- Now that you have ShipStation all set up follow these steps to link the ShipStation APIs to your ReCapturit Seller Store.